How to add your Lynkle digital business card email signature to Gmail


Step 1: Copy Your Lynkle Signature
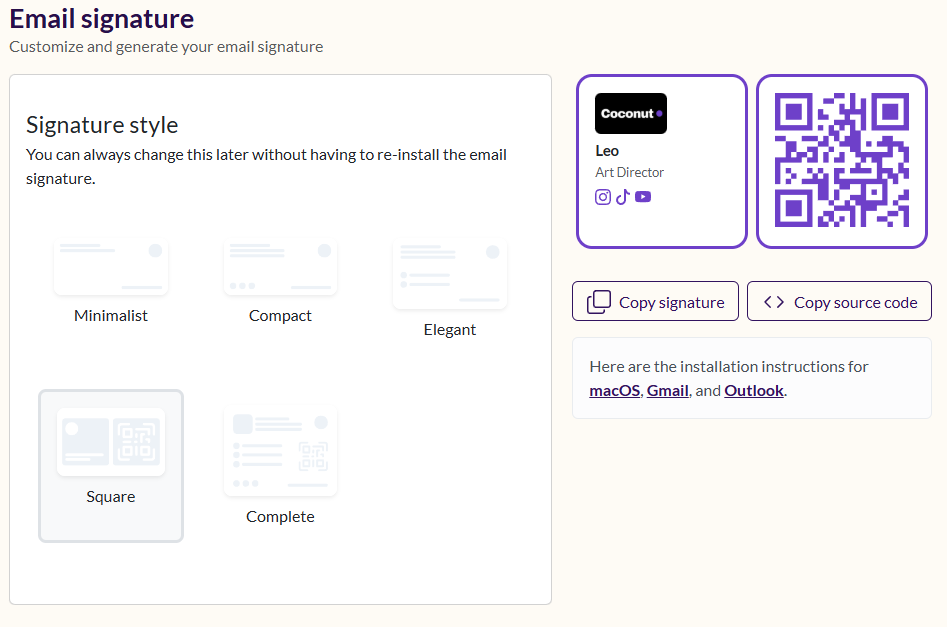
- Open your Lynkle dashboard.
- Tap the Email Signature button on your card.
- Select the signature style that you like best.
- Click Copy Signature to copy the HTML code.
Step 2: Open Gmail Settings
- Log in to your Gmail account.
- Click the gear icon (⚙️) in the top-right corner.
- Select "See all settings"
Step 3: Add the Signature
- In the General tab, scroll down to the "Signature" section.
- Click "Create new" and give it a name.
- Paste your Lynkle signature into the editor.
⚠️ Gmail may strip some styling. If needed, toggle the formatting toolbar and reformat slightly.

Step 4: Set as Default
- Under Signature defaults, choose your Lynkle signature for new emails and replies/forwards.
- Scroll down and click "Save Changes."
You're all set! Your Lynkle card will now show in every email.
Ready to start your digital business card journey?
Join the platform trusted by industry leaders and instantly share who you are with anyone, anywhere.